4 Ways To Encrypt Files On Google Drive

A big concern for many is the security and privacy of their files when storing them in the cloud. One would hope that Google is on top of their security, but there are many other ways your account and files could be compromised besides by hacking. Phishing schemes, re-used passwords, or even just leaving your account signed in to a computer or network other people access. Not to mention wanting to keep files away from Google’s prying eyes. The threat of file compromise is an obvious concern when storing more sensitive information in the cloud, such as bank records, tax returns, personal identification, etc.
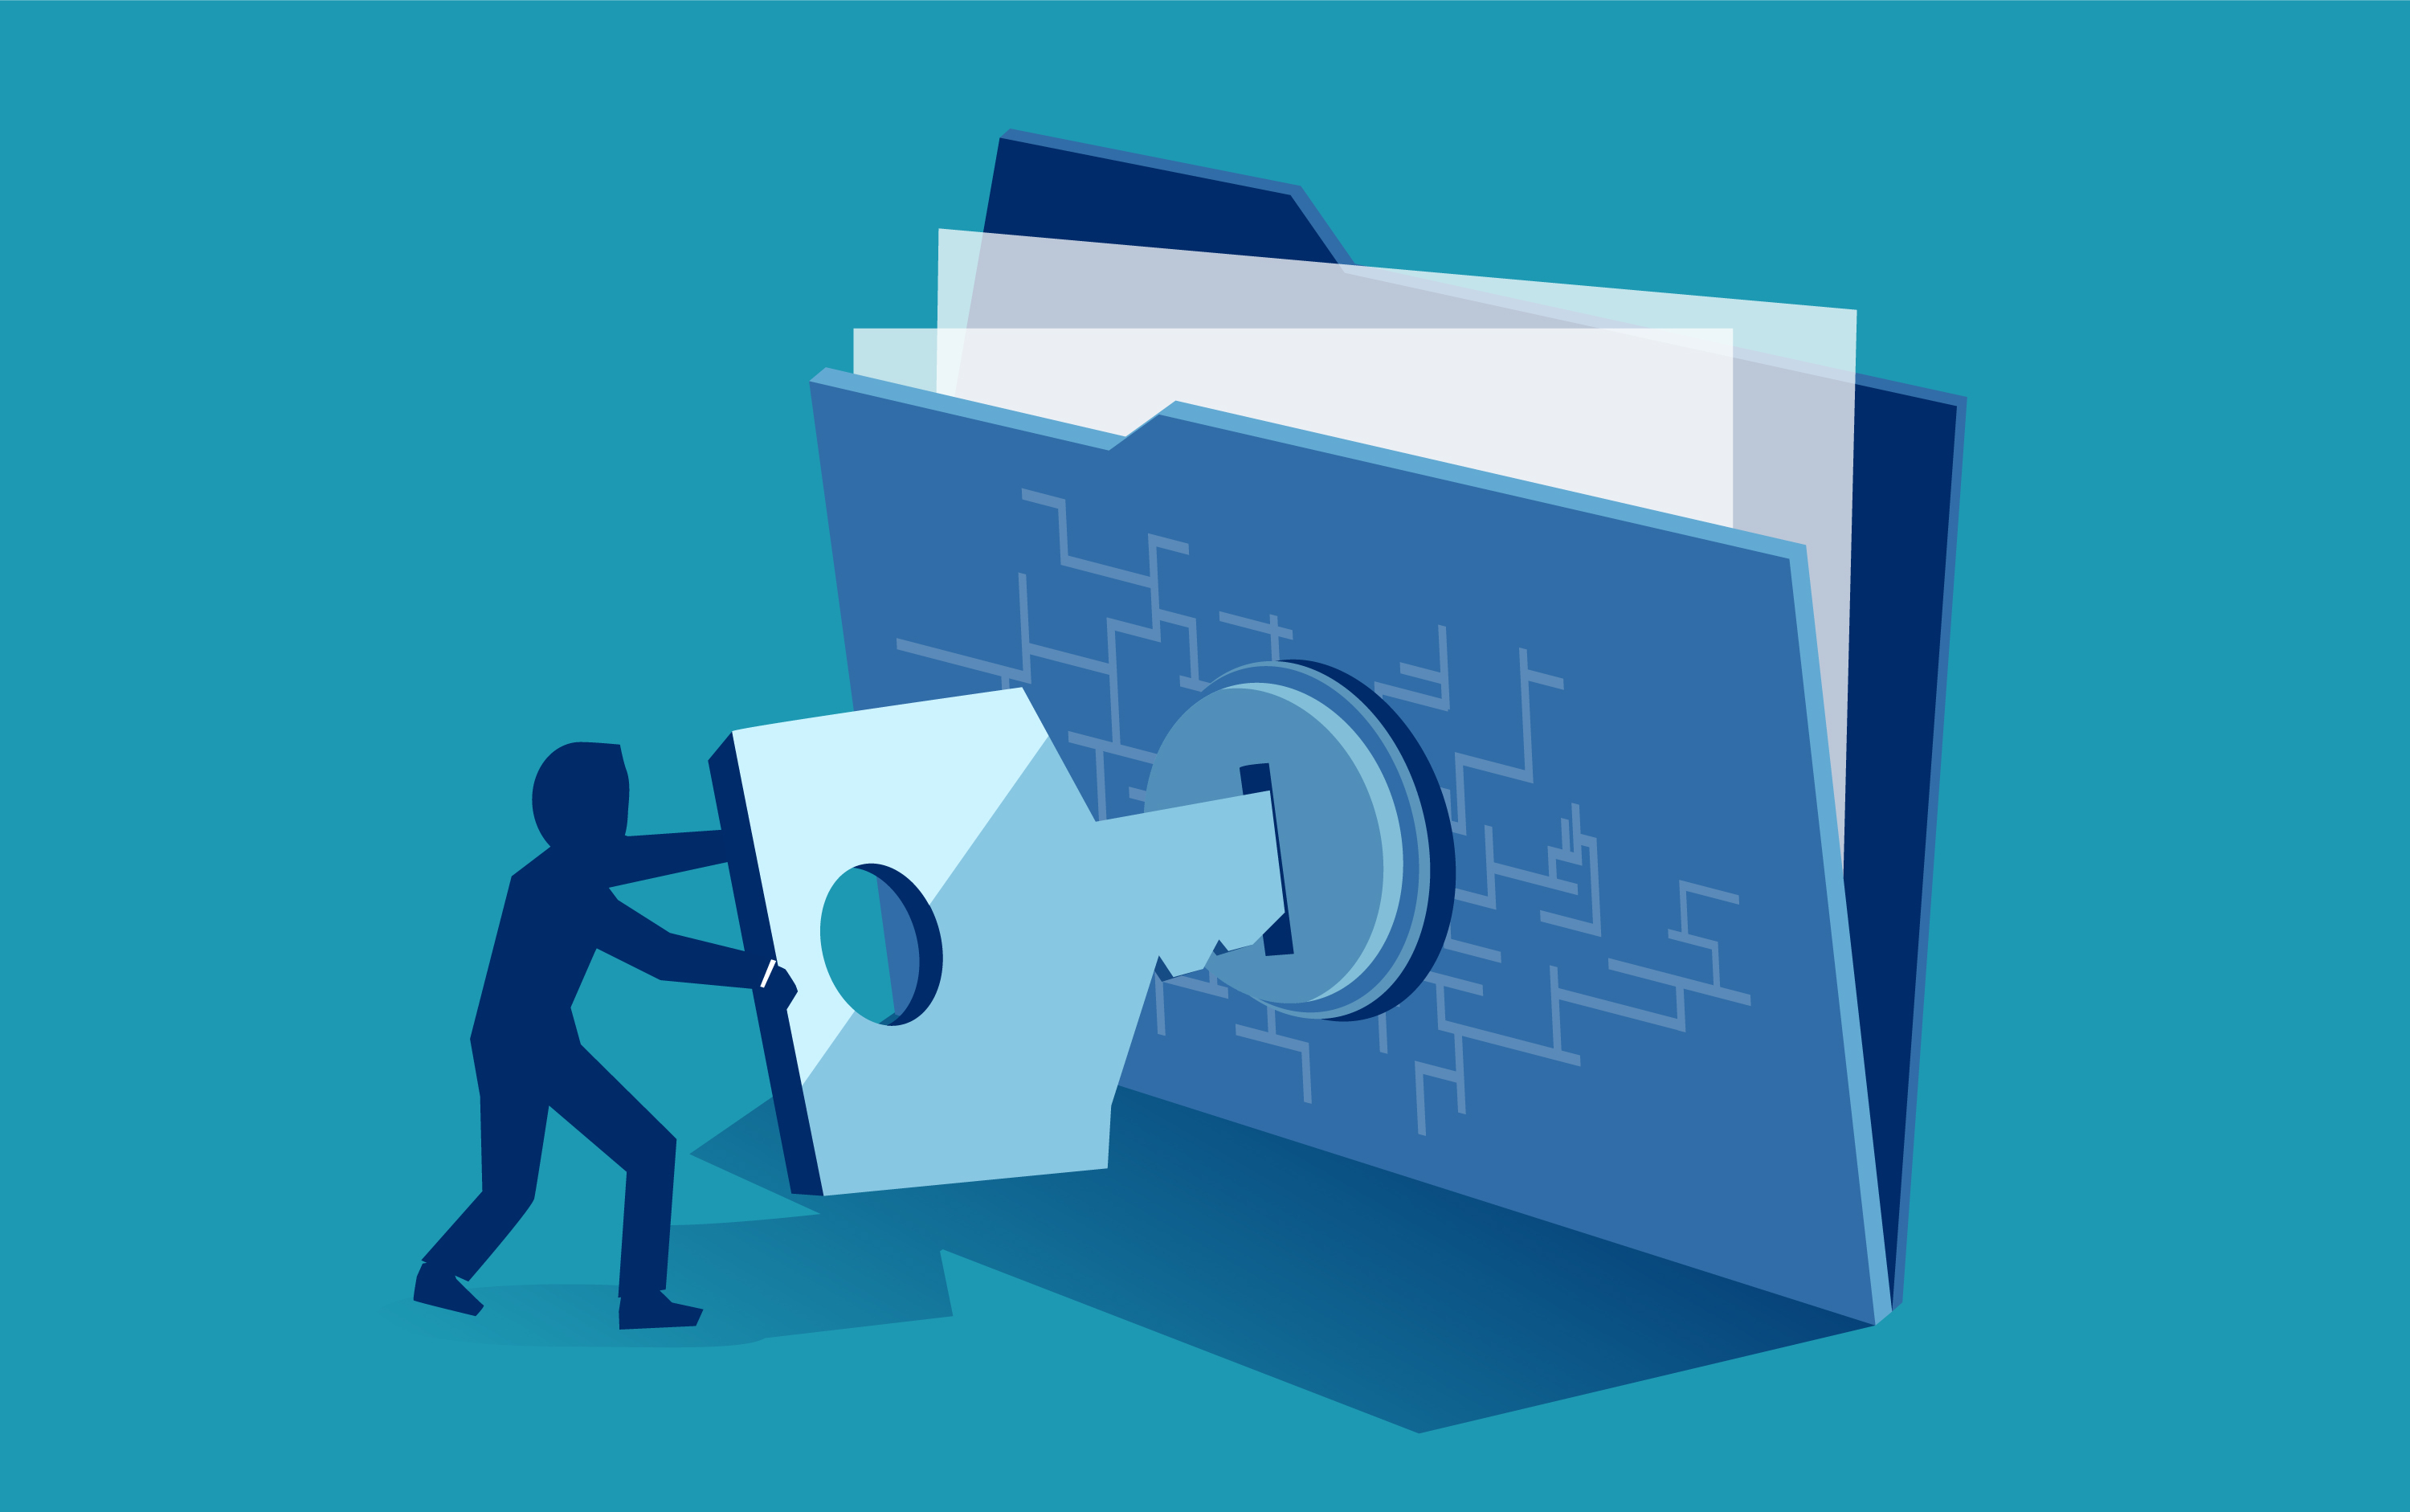
Encryption is the process of taking data or files and scrambling the code so that it is unreadable and inaccessible to outsiders without a password. Encryption is a simple and effective way to protect your data and maintain control of your information, and is important for individuals and businesses alike. Whether your data is personal or professional, security should be a priority, especially with large backups of lots of data or sensitive information. Even beyond external data breaches, encryption is an added layer of security for people on the same computer or network.
How does Google’s encryption work on Google Workspace?
Google offers, what it calls, “Encryption-by-default” on its platform. Though it does encrypt files in the cloud at transit and at rest, it can still be risky for individuals working on company technology or storing sensitive data on a public workspace. This also does not protect your files if your account is compromised in any way.
Why is encryption on Google Drive important?
Google’s data security is good, but not great. In December 2018, Google experienced a data breach when a bug exposed the data of 52.5 million Google+ users. Sometimes we forget that Google’s business model benefits from collecting data and using it to sell and market to us. By encrypting files on your own, you’re taking the initiative to protect your information and implementing a safety net if another vulnerability with Google is exploited. An easy and convenient way to encrypt your files is with third-party software.
This article will discuss how to encrypt files on Google Drive with the following four platforms:
Microsoft Word
Cryptomator
Veracrypt
Drivey
Continue reading to get a step-by-step guide on how to encrypt your files on Google Drive with each of the four platforms listed above.
Encrypt files with Microsoft Word
For users that have Microsoft Word on their desktops, you can easily password-lock files before uploading them to Google Drive so that your encryption process doesn’t require additional downloads of third-party software. Here is how you encrypt files on Google Drive with Microsoft Word:
1. Open Microsoft Word.
2. Go to “File.”
3. Select the “Info” tab.
4. Click the “Protect Document” button.
5. Once the dropdown menu opens, select the “Encrypt with Password” option.
6. A popup window will appear and ask you to choose a password to encrypt your word document.
Note: Choose a password you will remember. If the password is lost or forgotten, you will not be able to unlock the encrypted file. Remember that this encrypted password is case-sensitive.
7. Close the document. When you reopen it, you will be prompted to submit the password you just submitted to gain access to your encrypted file.
Encrypt files with Cryptomator
Cryptomator is free, open-source software that encrypts files. You can create encrypted volumes on your computer with little effort and access those files from any device. With Cryptomator, your data and the cloud are integrated seamlessly and securely so that sensitive information remains secure.
Here is a step-by-step tutorial on how to encrypt files on Google Drive with Cryptomator:
Download the newest version of Cryptomator from the website and install it on your computer.
Open Cryptomator and select the “+” sign to create your first encrypted vault.
In the “Save As” section, decide the name of your new encrypted vault.
Then choose Google Drive as the storage location and select “Save.”
Now, Cryptomator will prompt you to input a strong password to encrypt your files. When completed, select “Create Vault.”
Access your encrypted vault
Encrypt files with Veracrypt
Veracrypt is another free, open-source software available on Windows, Mac OSX, and Linux. With Veracrypt, you can encrypt or hide files on your computer through a virtual encrypted disk within a file that’s mounted as a real disk. Encrypting your files on Google Drive with VeraCrypt is a two-step process: Creating a volume in VeraCrypt and then Adding files to your volume.
Here is how you encrypt your files with Veracrypt:
Create a volume in VeraCrypt
Download the newest version of Veracrypt.
Once Veracrypt is installed, open the application interface and select “Create Volume.”
The VeraCrypt Volume Create Wizard will open up and select “Create an encrypted file container” and then select “Next.”
Select “Standard VeraCrypt” volume for the Volume Type and then select “Next”
From here, VeraCrypt will ask you where exactly you’d like your new volume to be, so create a name for your file in the “Save As” section and make sure that the “Where” location is where you want your files to go. When those are decided, select “Next.”
Choose the volume size and then select “Next”
Decide a long and complex password that you will use to access your encrypted volume and then select “Next.”
For Format Options, keep them the same and select “Next.”
To build randomness, you will move your mouse around your screen as randomly as possible. Do this continuously until the randomness bar is completely filled.
Now your volume is created. Click “Ok” and then “Exit” to close the Wizard.
Add files to your encrypted volume with Veracrypt
Once you’ve created your volume on your computer, you can add files to your encrypted volume with Veracrypt. Here’s how to add files to your encrypted volume with VeraCrypt:
Choose “Select File,” click on the volume you created, and select “Mount.”
Enter the encrypted password you made for the folder.
By double-clicking on the volume you just created on the Veracrypt interface, you’ll have access to the partition. It should appear empty.
To encrypt files, paste or drop your files into the folder.
When all your files are added, select “Dismount” on the Veracrypt interface to encrypt the files in the volume.
Upload and Encrypt with Drivey!
When uploading with Drivey, your sensitive files never hit the cloud storage provider until they are already encrypted. There are three ways to do this with Drivey, so we'll guide you step by step through each option so that you can decide which encryption solution is best for you.
Encrypt with Drivey: Option 1
1. Drag and drop your file or folders over the “upload & encrypt” section of the app or browser extension.
2. Your files will automatically be compressed, encrypted, and uploaded to the cloud drive of your choice.
Note: When you upload you will receive a prompt to optionally require 2FA to decrypt for an added layer of security.
Encrypt with Drivey: Option 2
1. Go to the drive / folder you want to upload to
2. Click the “upload” button and choose “upload & encrypt”
3. Use the computer dialog to select the files / folders from your computer to upload
4. Your files will automatically be compressed, encrypted, and uploaded to the location of your drive
Note: When you upload you will receive a prompt to optionally require 2FA to decrypt for an added layer of security.
Encrypt with Drivey: Option 3
1. Navigate to the files and folders in your Google Drive.
2. Select the files you want to encrypt.
3. Choose “Encrypt”.
Note: When you choose encrypt you will see a prompt to optionally require 2FA to decrypt for an added layer of security.
Conclusion
Encryption is an easy and important step to take to enhance the security of Google Drive. While it may feel tedious to encrypt your files, taking the necessary steps to add an extra layer of security to your information is a proactive investment that’ll reward you in the long run. Whether you’re dealing with sensitive information or just want to increase your data security processes within Google Drive, each of the encryption options listed above will provide you with an extra layer of security that you didn’t have before with Google Drive.